Workshop: Soil Texture and Composition
Age range: grades 3-6
Time: 45 minutes
Materials: soil samples; water, several clear, plastic containers; a ruler; laundry detergent
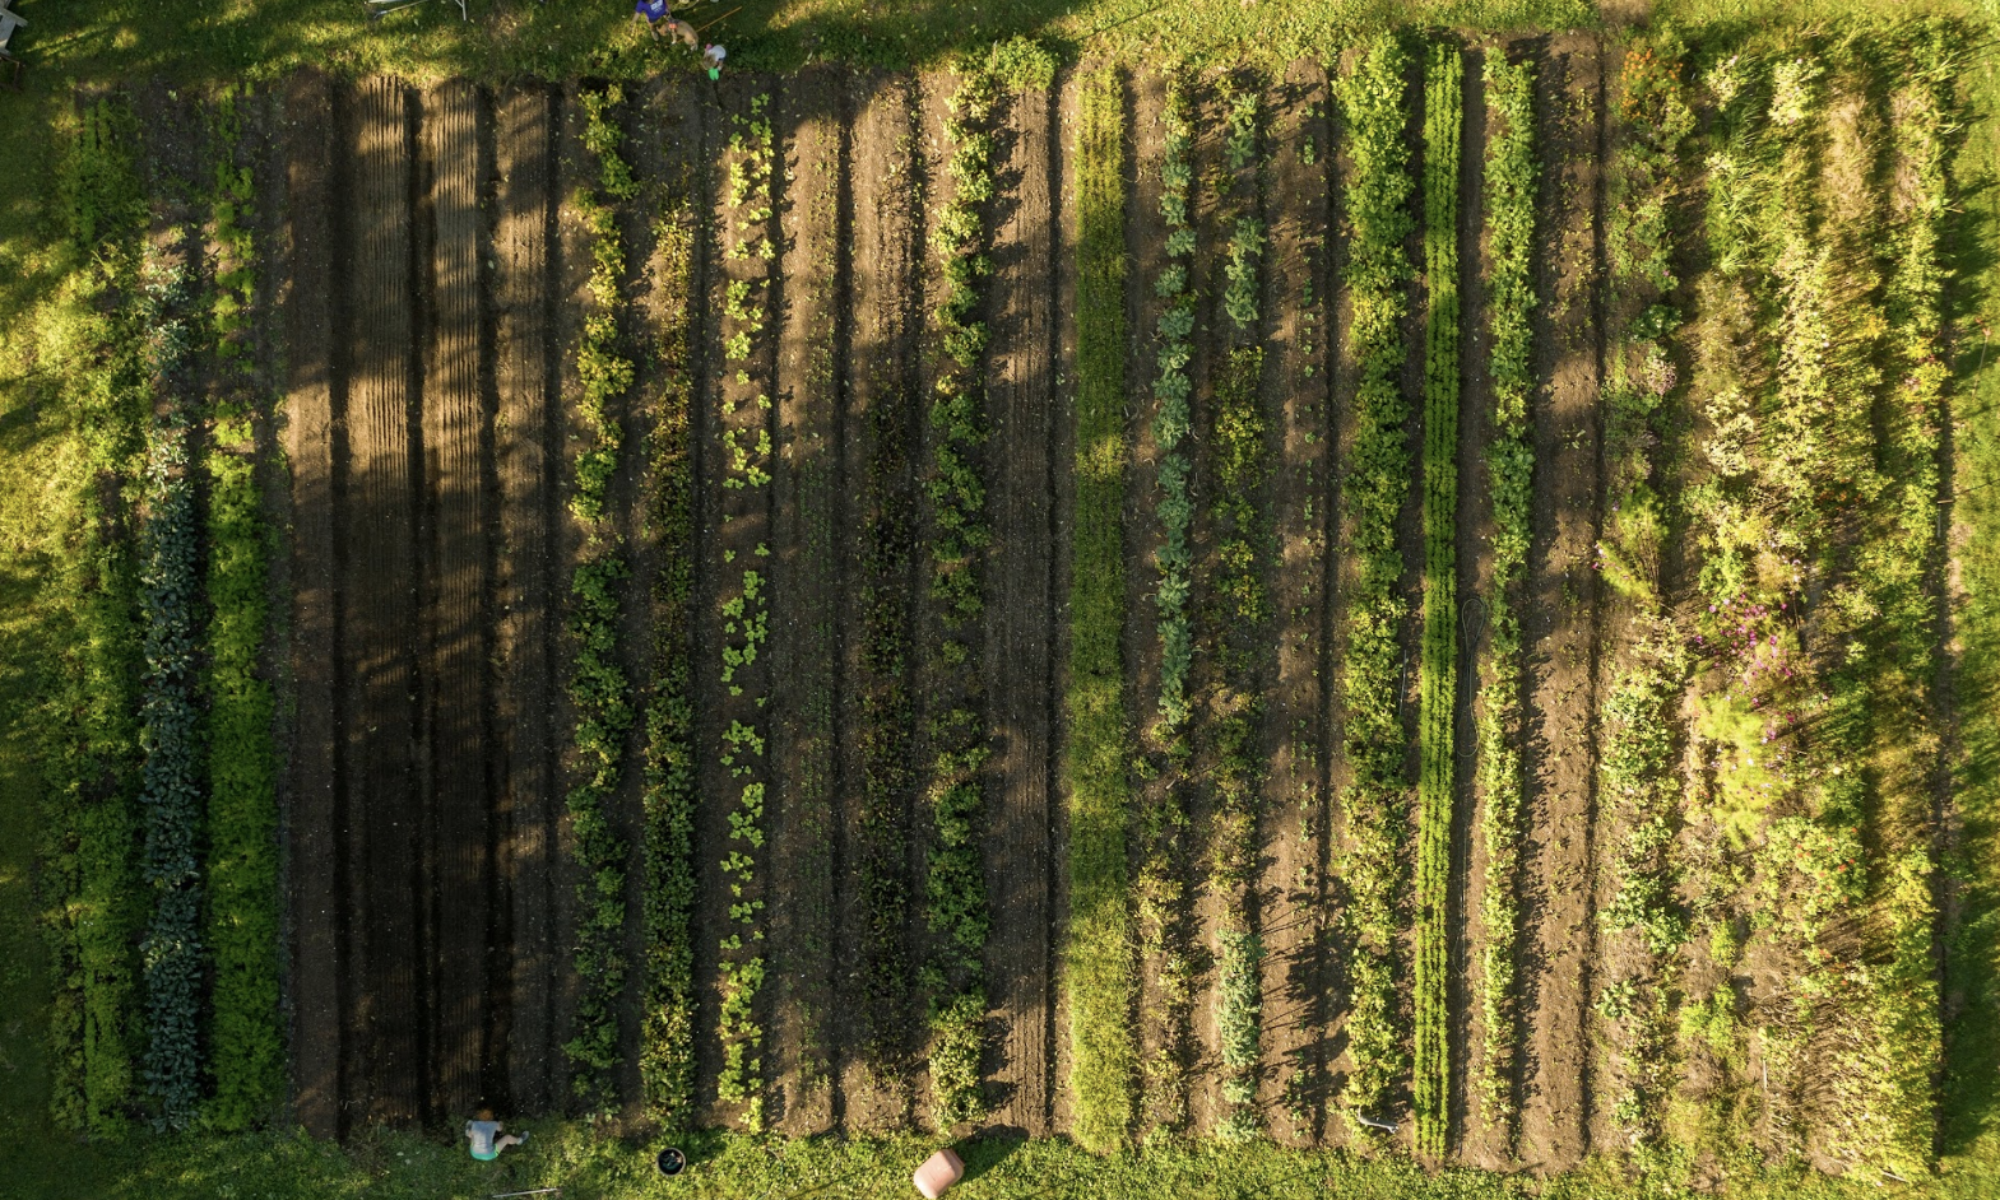
Activity 1: Scout for Soil
Have students collect samples from the around the farm (or prepare soil samples in advance). Allow them to investigate the soil they have found.
Activity 2: Soil Lesson
Begin the conversation by asking students the following questions: What is soil? Can you identify different components of the soil? What does it look, smell, and feel like? Do all of our samples look identical? How are they the same? How are they different?
Share information about the components of soil. Explain how the amount of sand, silt, and clay present effects growing conditions for plants.
Activity 3: Testing the Soil
Use the ribbon test to estimate the amount of each component in your soil samples. First, take a small clump of soil and add water until it makes a moist ball. Rub the soil together between your fingers. If the soil makes a nice, long ribbon, then it has a lot of clay in it (thus, it sticks together well). If it crumbles in your hand, then it has a lot of sand. If it is somewhere in between, they you probably have a good mix (a soil with a good mix of all 3 components is called a loam).
Ask students to estimate what percentage of each component they think is present. Explain that the ribbon test may not be exact, but scientists may use it in the field to create a general description of a soil since it is very easy to implement (all you need is a little water).
Activity 4: Making “mudshakes”
Explore soil components by creating “mudshakes” and watching the components settle out. For each soil sample, have students fill a clear container about two-thirds full of water, then add enough soil to nearly fill the jar. Add a pinch of laundry detergent to help the soil components separate well. Shake the jar vigorously, then observe the jar as the particles settle into layers. The larger particles, sand, are heaviest and will settle at the bottom, followed by silt, with the last full layer being clay. The clay may stay suspended and cloud the water for a while. Organic matter will float on or just below the water surface.
Once the jar has settled, compare the results to your ribbon test. Measure the height of each layer. With older students, translate this information into percentages for each component (by dividing the height of each component by the height of the sample). Compare with your estimations from the ribbon test to see how accurate they were.